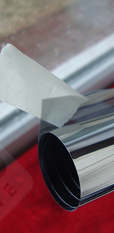
Free Window Film Fragment
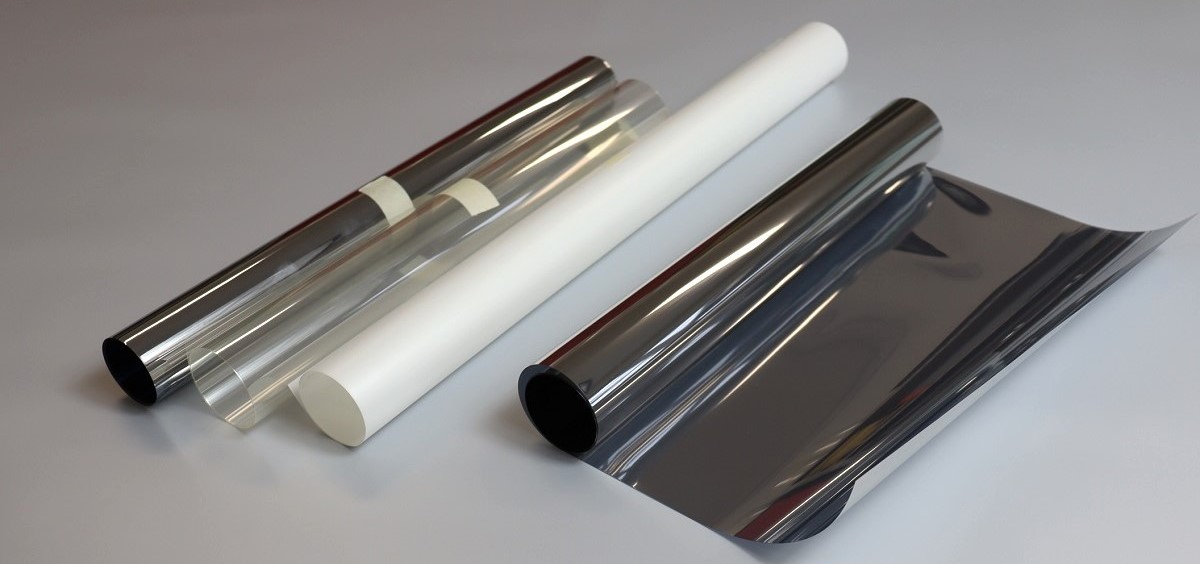
Free Window Film Fragment
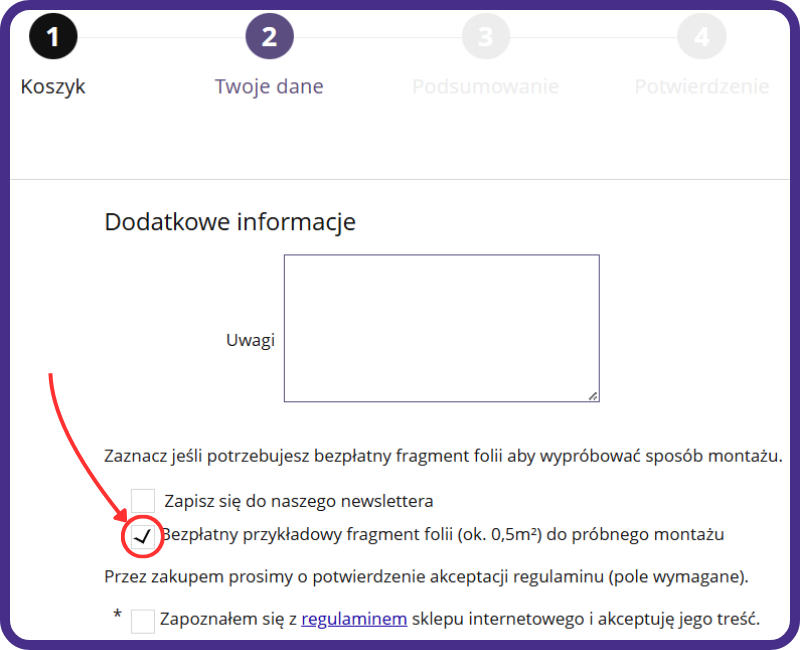
We can add a free window film fragment of approx. 0.5 m² to your order, which you can use for a test installation. Simply select the appropriate option when entering your delivery details, and we will send it to you together with your order.
Important!
The free film fragment is not added for films from the following sections:
Preparing for a Test Window Film Installation
The two most important items, window film installation fluid concentrate and a simple squeegee, are worth adding when purchasing window film. The remaining accessories can be replaced with tools that perform a similar function and that you may already have, for example a plant sprayer can be used to mist the glass. We will be applying a pre-cut film fragment, so in this case we will not use a film cutting knife or a tape measure for the initial measurement of the film.
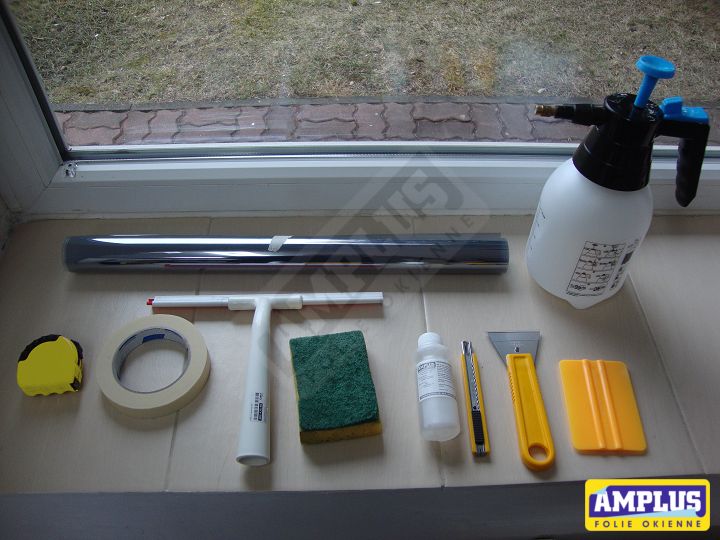
Prepare:
- window film,
- a tape measure and masking tape,
- window cleaning accessories,
- installation tools: a knife, scraper and squeegee,
- window film installation fluid concentrate,
- a sprayer for misting the glass.
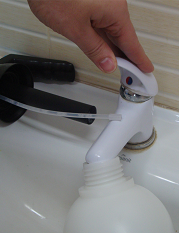
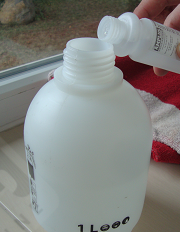
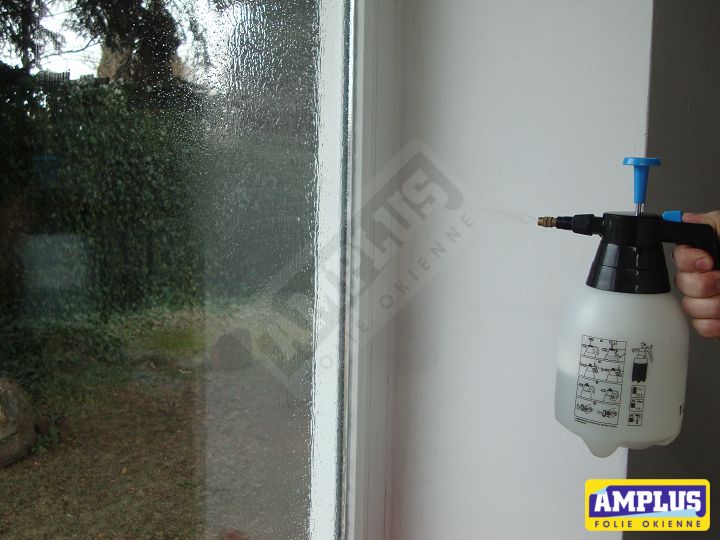
Prepare the misting solution according to the procedure shown on the bottle of window film installation fluid concentrate.
Mix the solution well in the sprayer. You can prepare more solution, as a large amount will be needed for proper film installation.
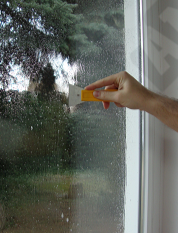
Mist the glass generously with the prepared solution, then wash the glass and remove any larger dirt with a scraper. It can be replaced with a tool that performs a similar function, but remember that it must not scratch the glass.
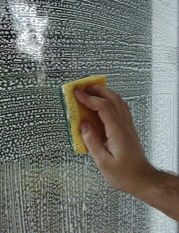
If the glass was very dirty, repeat the cleaning process. Perfectly clean glass helps ensure proper film adhesion. Remove excess water with a window squeegee.
How to Perform a Test Window Film Installation
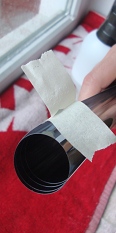
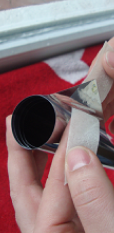
Prepare the film for application. On the inner side, window film has a thin protective liner that protects the adhesive and must be removed before installation. To do this, attach two pieces of masking tape to one corner of the window film and separate the layers with a quick movement.

Remove the protective liner from part of the film and mist that section generously so the adhesive can start working. Do not remove the entire protective liner at once. This helps protect the delicate adhesive layer from dust in the air.
Mist the glass very generously with the solution. This is a key part of the whole film installation process. The glass should be heavily wetted so that after the film is placed on it, the film can still be moved freely across the glass.
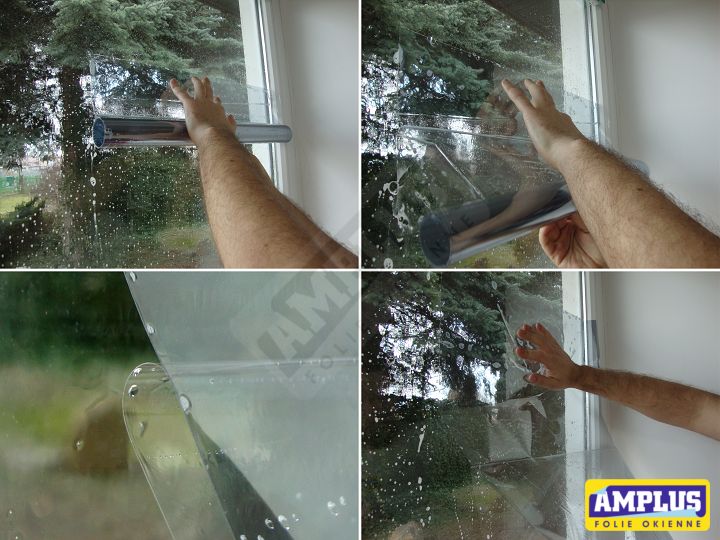
Place the film on the glass so that the section without the protective liner is at the top. Check whether the film moves on the glass. Hold the upper part of the film and pull out the remaining part of the protective liner from underneath it, avoiding contact between the sensitive adhesive and dust from the air.
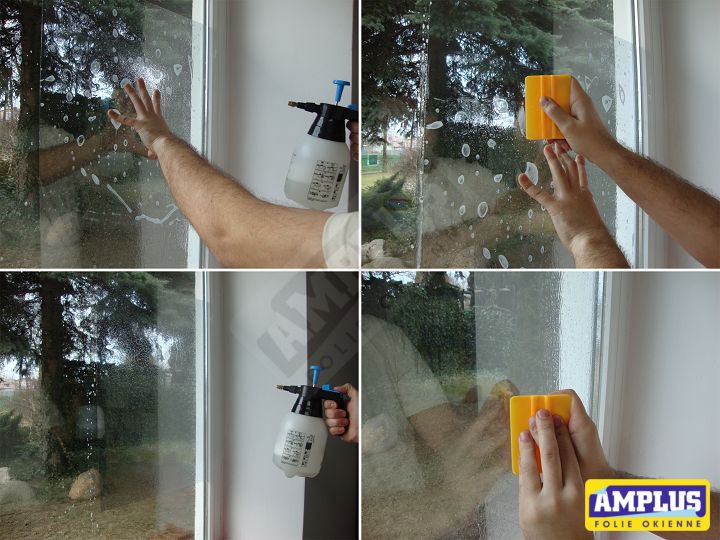
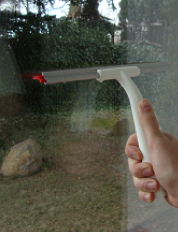
The film is now on the glass. Remove the excess water between the film fragment and the glass with a squeegee. First mist the outer surface of the film with the solution, then press the water out from under the film with firm side-to-side movements. Because the film is wet, even strong pressure with the squeegee should not scratch the film.
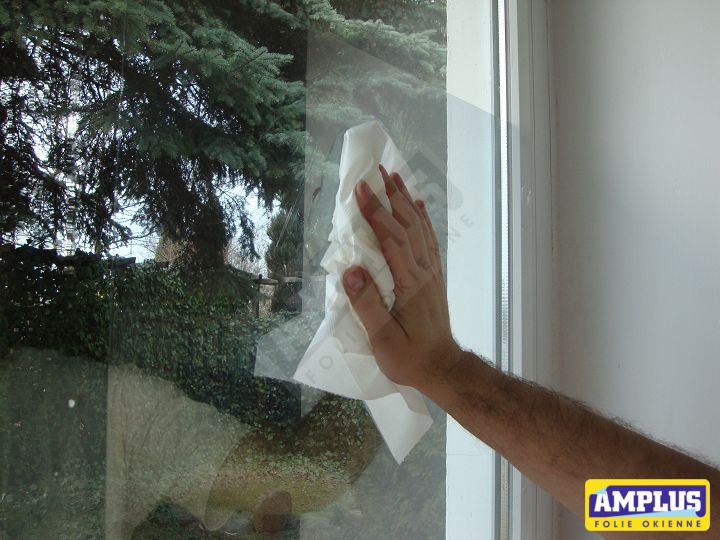
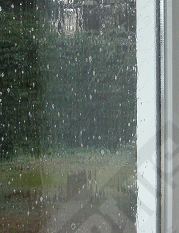
Gently wipe the installed film to dry it. The adhesive bonding process now begins and takes up to 30 days.
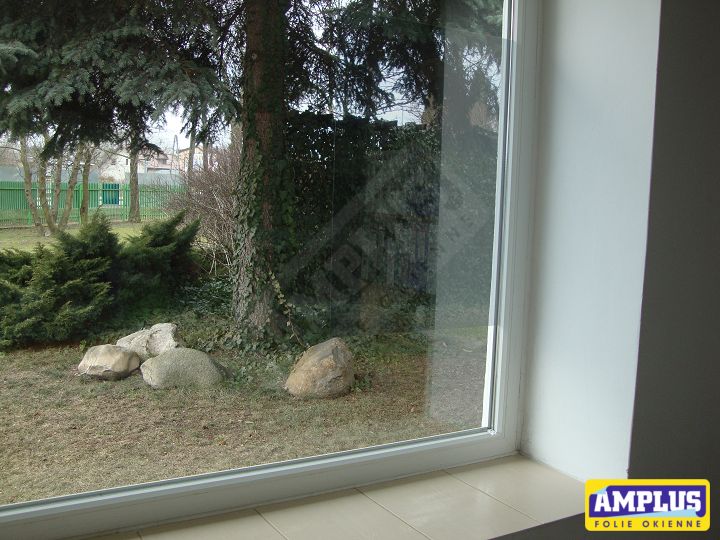
The free film fragment is now installed on the window. You can assess the quality of your work and check whether any dust particles are visible under the film. If there are no water-filled bubbles under the film, it means that the water has been pressed out correctly.
Summary
As you can see, installing a test film fragment is fairly simple, and following a few basic rules helps achieve the correct result.
Because the purpose is only to perform a test installation, the film can be removed at any time as long as the adhesive has not started bonding, which can take up to 30 days. Simply peel the film gently away from the glass and wash the window. The window remains unchanged and no traces should be left after the test installation.